Restore your account from a backup
Restore brings back a full account backup that you previously created with OmniBurrow's Export tool. Use it when you're setting up a new device, recovering after a problem, or just returning to a known-good snapshot.
This is different from the other import tools: CSV and Pedigree import add data from outside OmniBurrow, while Restore replays a backup OmniBurrow itself produced.
What's in a backup
When you request an export, OmniBurrow builds your backup as ZIP files:
data.zip: your records as CSV tables (rabbits, litters, weights, health events, treatments, finances, contacts, and more), with a manifest describing them.photos.zip: your rabbit and litter photos (when you include them).
Restore reads these back in. Export and Restore are two halves of the same feature — always keep a recent export so a restore is possible.
:::caution Restore changes your data A restore writes the backup's records into your account. Read the on-screen warnings carefully and make sure you're restoring the backup you intend. If in doubt, export a fresh backup of your current state first so you can get back to it. :::
Step 1 — Create a backup (Export)
If you don't have a backup ZIP yet, make one first. See
Backup, Export & Deletion for the full export walkthrough — in
short, request an export, wait for it to finish processing, then download the data and photos
files.
Step 2 — Restore
- Web App
- Mobile App
Prerequisites
- Signed in to the Web App, online.
- Your backup
data.zip(andphotos.zip, if restoring photos) on your computer.
Numbered steps
- Go to Dashboard → Account and find Import from backup. (It lives on the Account page, not in the Import area — that is for bringing in data from outside OmniBurrow.)
- Upload your backup file(s).
- OmniBurrow validates the backup and shows what it will restore, along with any warnings about rows it can't read.
- Confirm to start the restore. It runs as a background job with progress you can follow.
Success state
The restore job completes and your records and photos are back in your account. Restore takes the two zips from an export. The latest import and its verification stay on the card.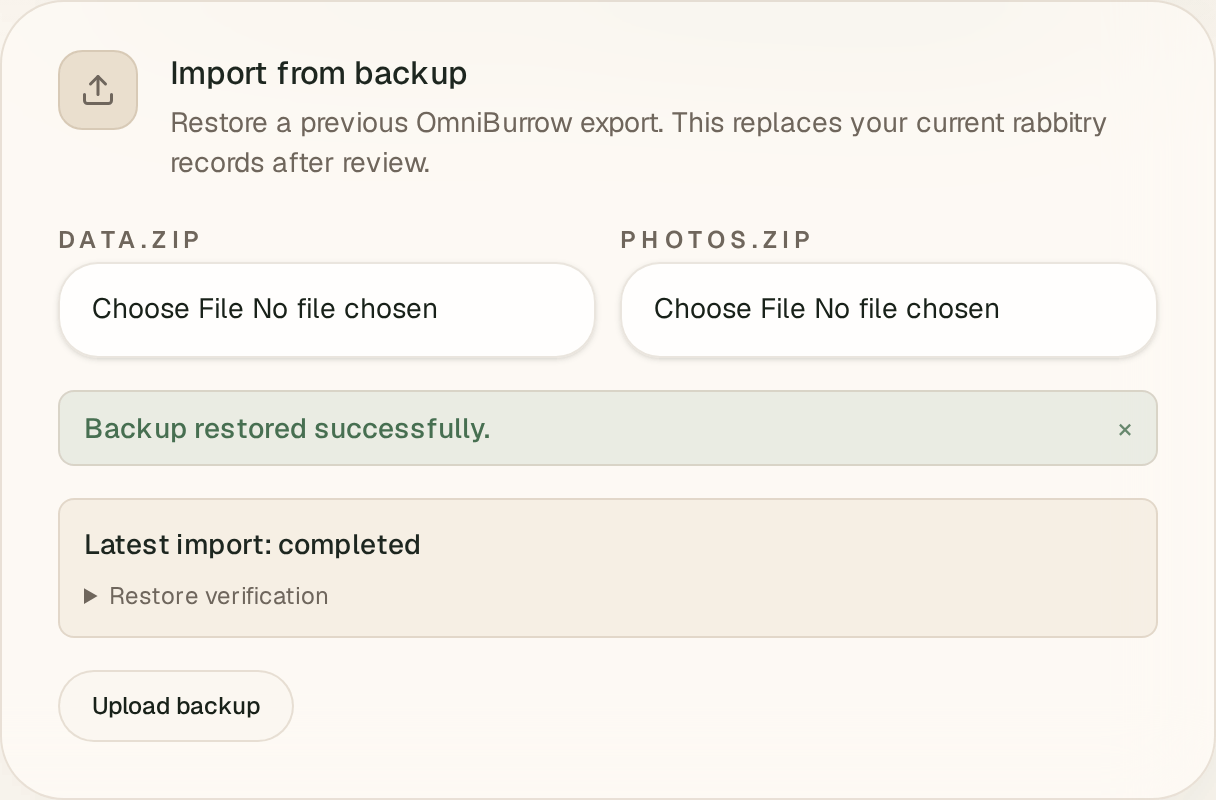
Prerequisites
- Signed in to the Mobile App, online.
- Both backup files reachable from the device file picker. An export is two files, and
photos.zipis required whenever the backup contains photos — the restore is rejected without it. Tap a ready export in Settings → Data to download each one.
Numbered steps
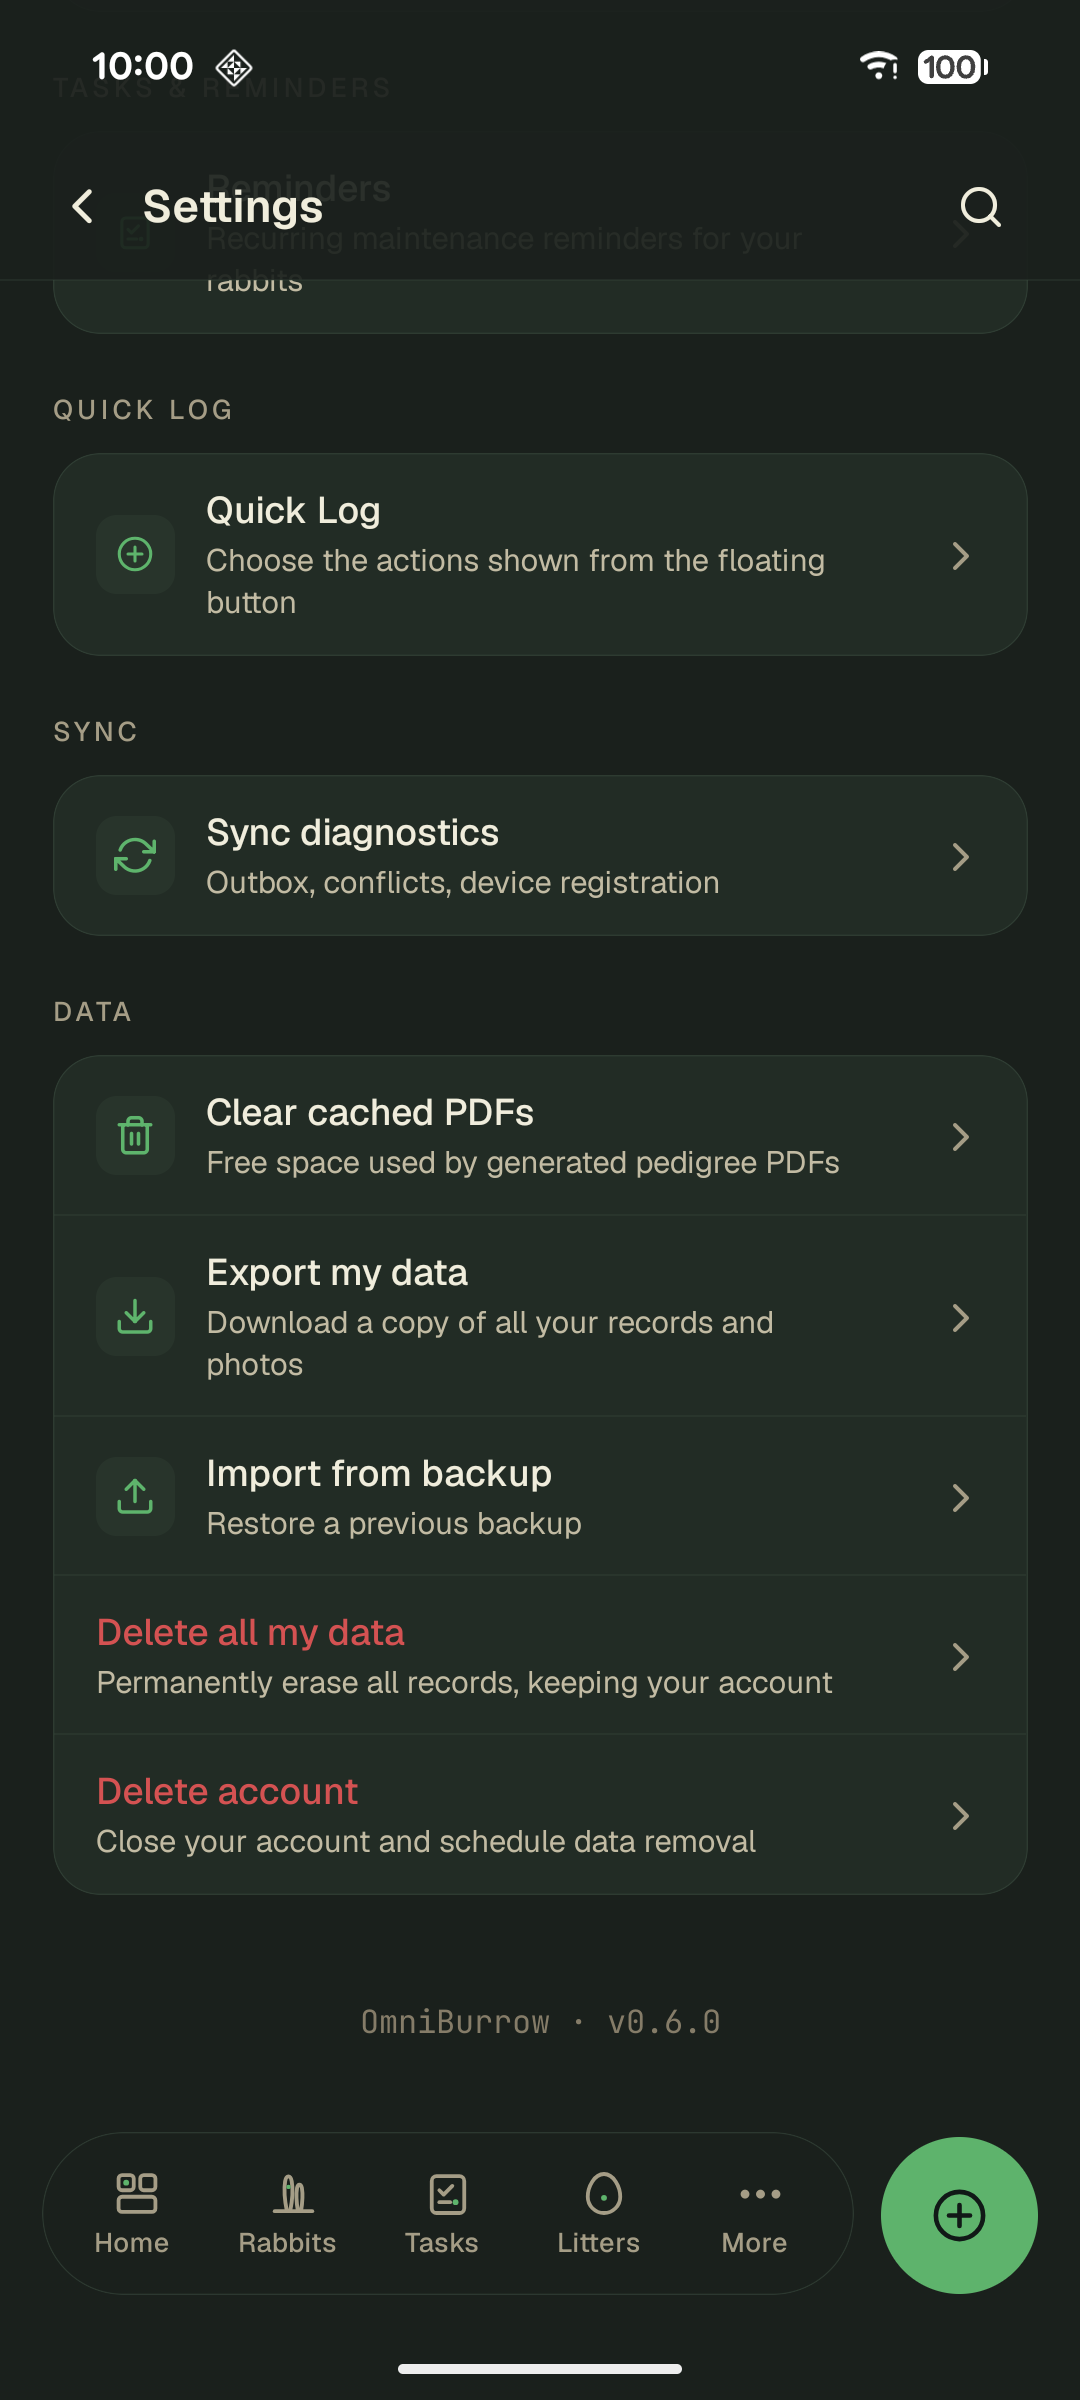
- Open Settings → Data and choose Import from backup.
- Choose
data.zipwhen the first step asks for it, thenphotos.zipat the second. If your backup genuinely has no photos, choose My backup has no photos instead. - Review the validation summary and any warnings.
- Confirm to run the restore; follow the progress indicator.
Success state
The restore finishes and your data is back; changes sync to the Web App when online. Everything you can do with your own data sits in one Settings section. Restore is
Import from backup. The last stop before a restore. It replaces what is in the account, so you type
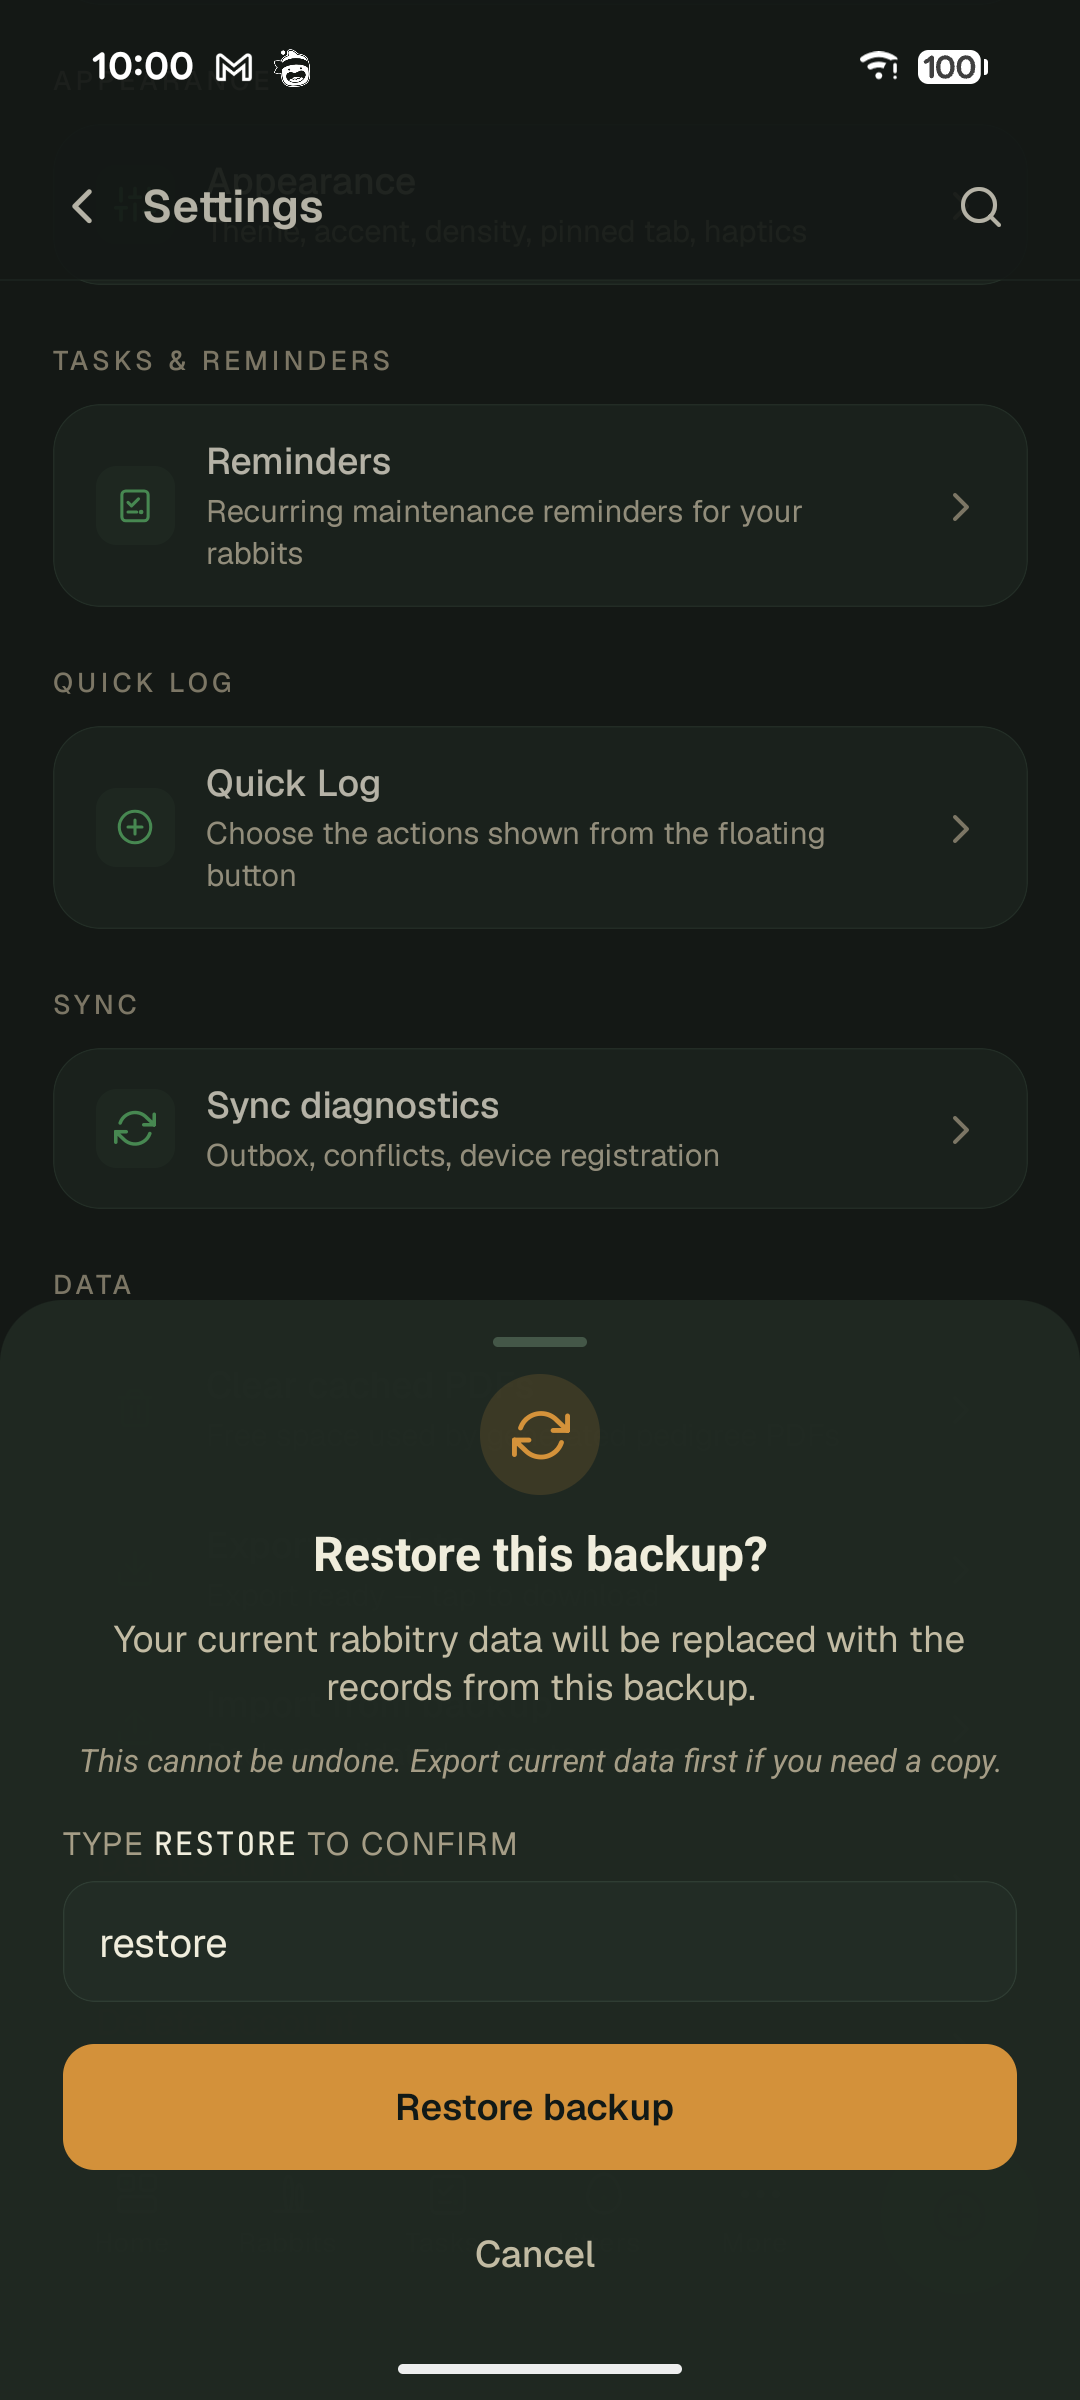
restore to enable the button.
Related
- Backup, Export & Deletion: exporting backups, deleting data, and closing your account.
- Data Ownership: why you can always get your data out.